Specify Appliance: Difference between revisions
Kyuhojeong (talk | contribs) No edit summary |
Kyuhojeong (talk | contribs) No edit summary |
||
| Line 28: | Line 28: | ||
[[File:Specify_Appliance_00.png]] | [[File:Specify_Appliance_00.png]] | ||
2. Enter the appliance folder and run Specify appliance by double clicking the appliance file. | 2. Enter the appliance folder and run Specify appliance by double clicking the appliance file. | ||
[[File:Specify_Appliance_01.png]] | [[File:Specify_Appliance_01.png]] | ||
3. Click the green play button | 3. Click the green play button | ||
| Line 40: | Line 44: | ||
[[File:Specify_Appliance_03.png]] | [[File:Specify_Appliance_03.png]] | ||
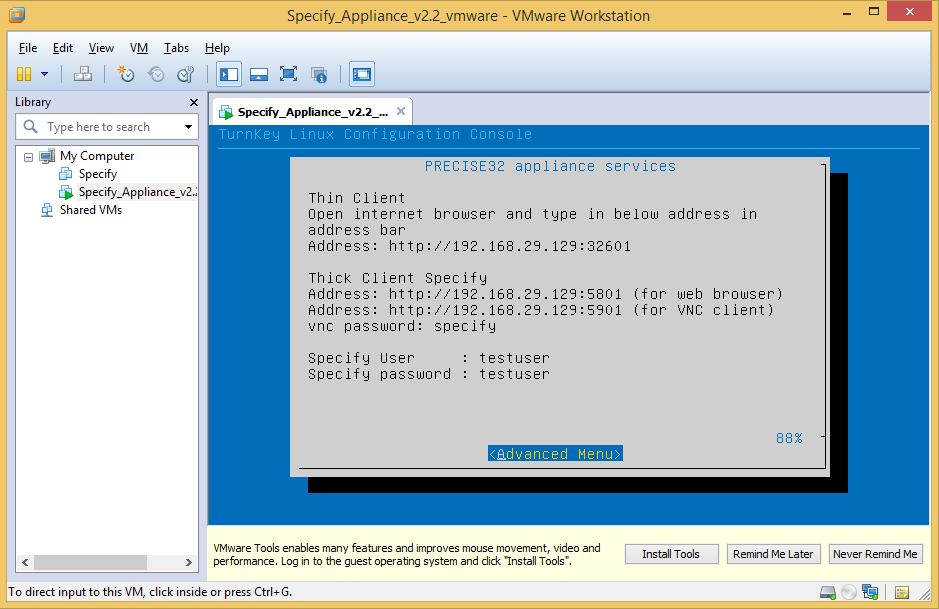
5. After the appliance boot completes, it shows several addresses. | 5. After the appliance boot completes, it shows several addresses. | ||
[[File:Specify_Appliance_04.png]] | [[File:Specify_Appliance_04.png]] | ||
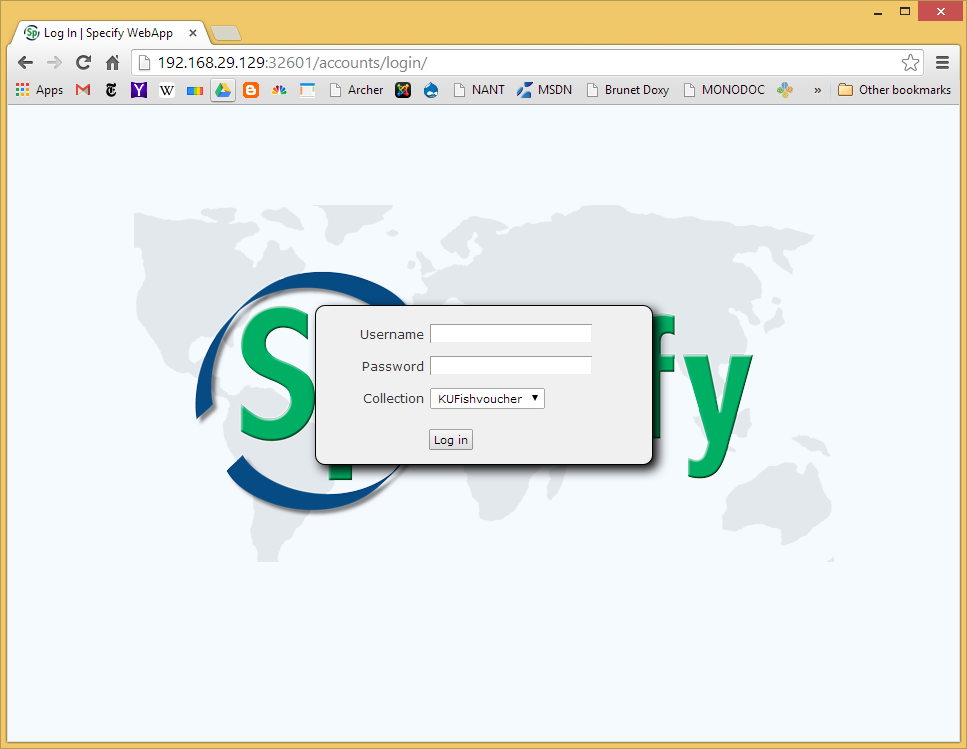
6. Type the address to the address bar in the browser. | 6. Type the address to the address bar in the browser. | ||
[[File:Specify_Appliance_05.png]] | [[File:Specify_Appliance_05.png]] | ||
7. The browser acquire for the permission. You can click either of the permission. | 7. The browser acquire for the permission. You can click either of the permission. | ||
[[File:Specify_Appliance_06.png]] | [[File:Specify_Appliance_06.png]] | ||
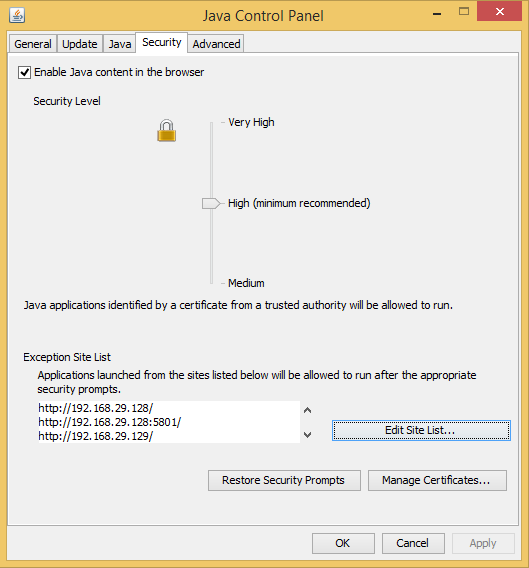
7. If a message pops up saying the security does not allow it, you need to open "Java control panel" in the control panel and add the address in the exception list. | 7. If a message pops up saying the security does not allow it, you need to open "Java control panel" in the control panel and add the address in the exception list. | ||
[[File: | [[File:Specify_Appliance_09.png]] | ||
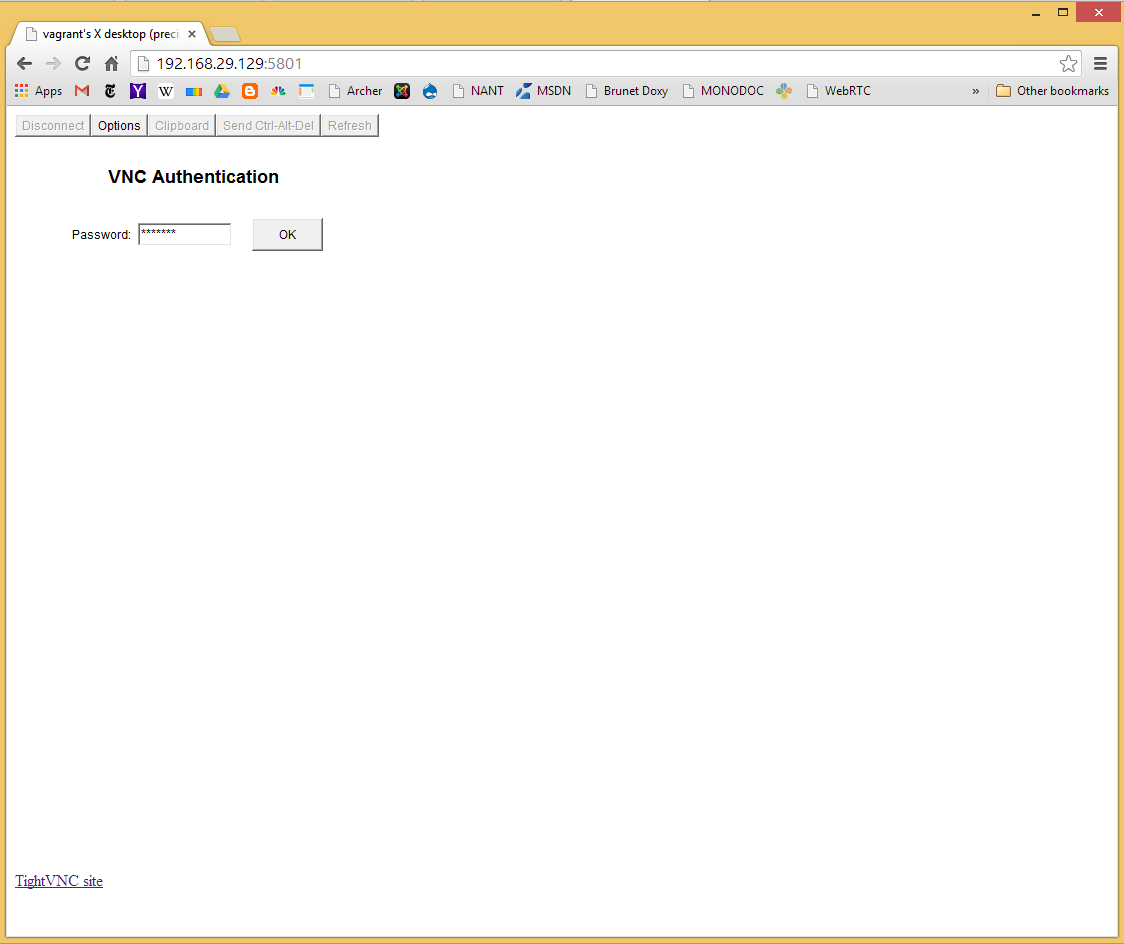
7. Enter the VNC password, the password is given in the appliance screen. | 7. Enter the VNC password, the password is given in the appliance screen. | ||
| Line 61: | Line 73: | ||
[[File:Specify_Appliance_07.png]] | [[File:Specify_Appliance_07.png]] | ||
[[File: | [[File:Specify_Appliance_08.png]] | ||
[[File:Specify_Appliance_10.png]] | [[File:Specify_Appliance_10.png]] | ||
[[File:Specify_Appliance_11.png]] | [[File:Specify_Appliance_11.png]] | ||
[[File:Specify_Appliance_12.png]] | [[File:Specify_Appliance_12.png]] | ||
Revision as of 17:42, 10 February 2014
1. Install hypervisor
Before you run Specify appliance, you need a virtual machine player. We recommend to use VMware player if you use Windows operating system. Follow this link and download the VMware player.
- http://www.vmware.com/support/download-player
If you are Mac user and do not have a VMware fusion installed, we recommend to use VirtualBox (because it is free!). Below link introduces how to install and configuring VirtualBox on Mac.
- Installing and configuring instruction for VirtualBox(for mac)
2. Download Specify appliance
for vmware
- http://www.acis.ufl.edu/~xetron/Downloads/Specify_Appliance_v2.2_vmware.zip
for VirtualBox
-
3. Specify appliance usage instruction
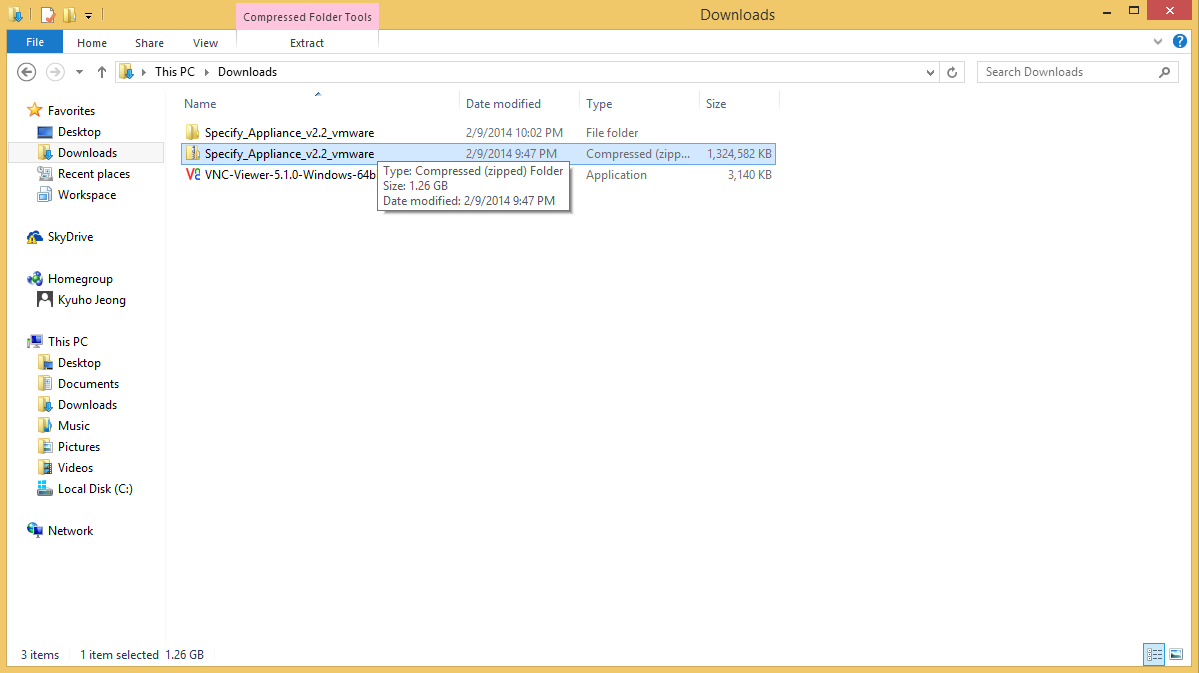
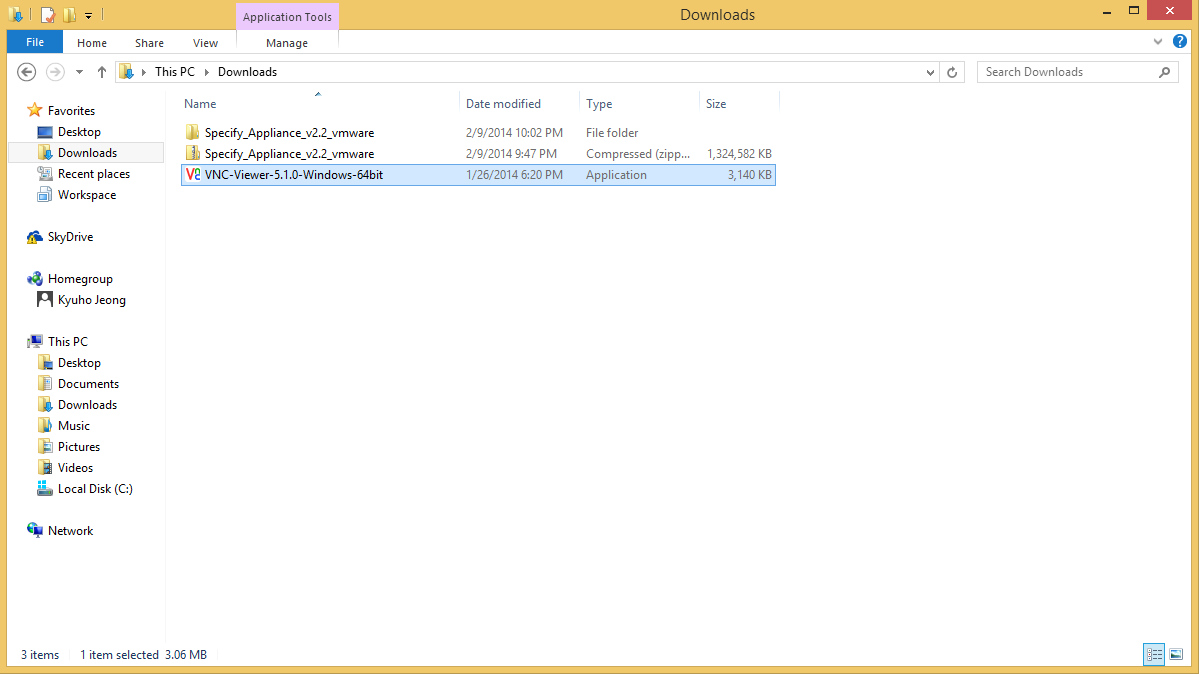
1. Extract the zip file.
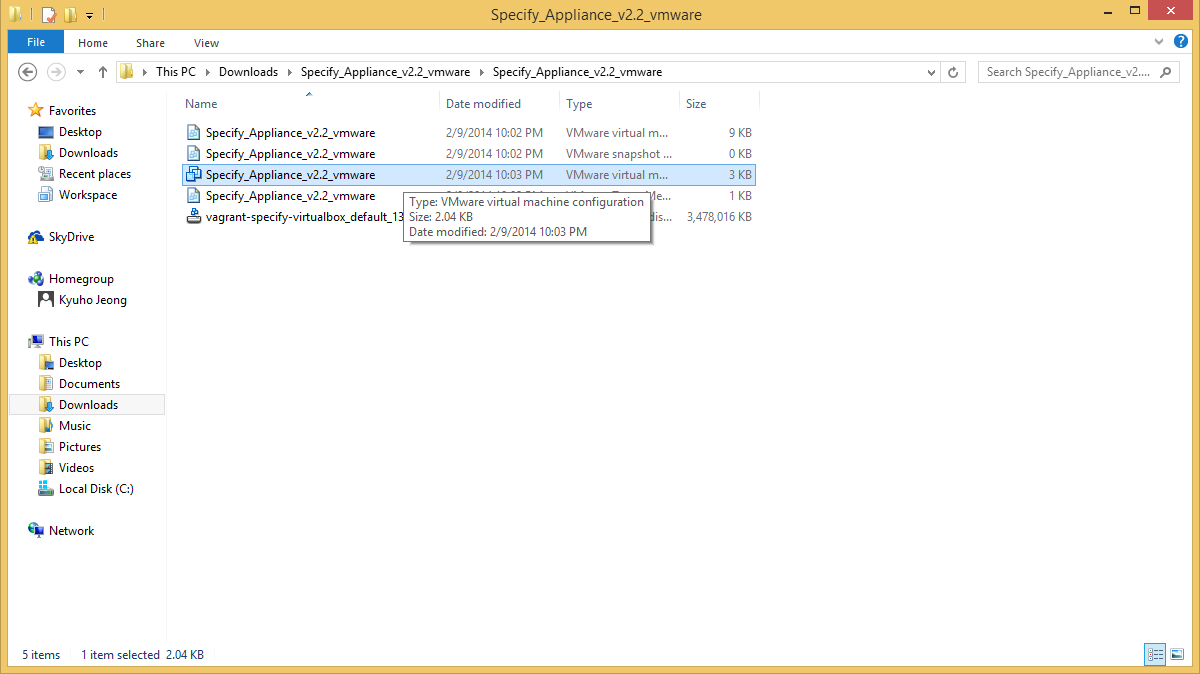
2. Enter the appliance folder and run Specify appliance by double clicking the appliance file.
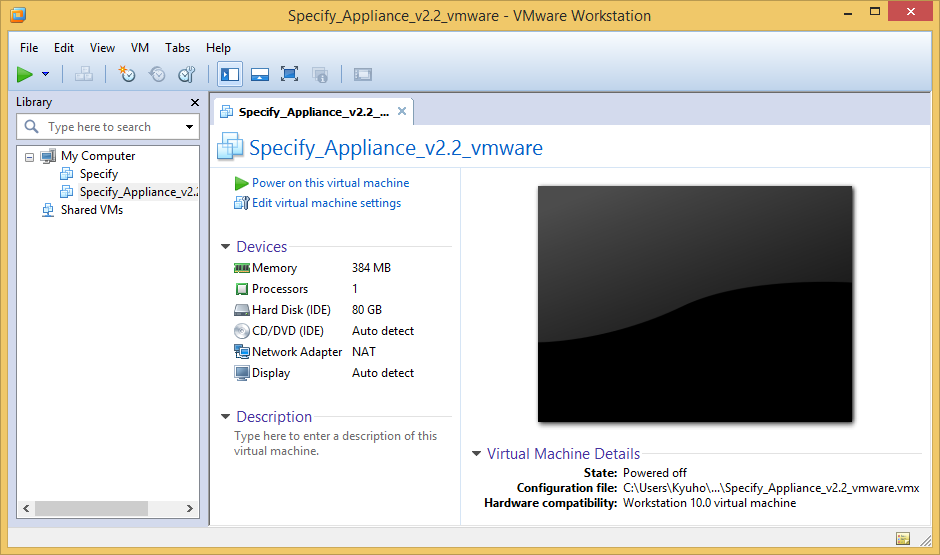
3. Click the green play button
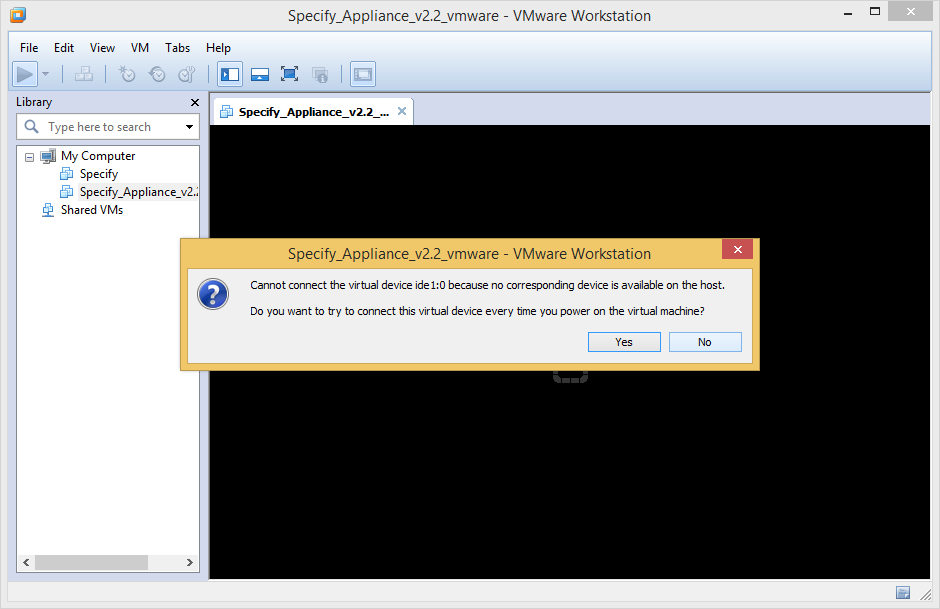
4. Some message may pop up, you can simply click "no".
5. After the appliance boot completes, it shows several addresses.
6. Type the address to the address bar in the browser.
7. The browser acquire for the permission. You can click either of the permission.
7. If a message pops up saying the security does not allow it, you need to open "Java control panel" in the control panel and add the address in the exception list.
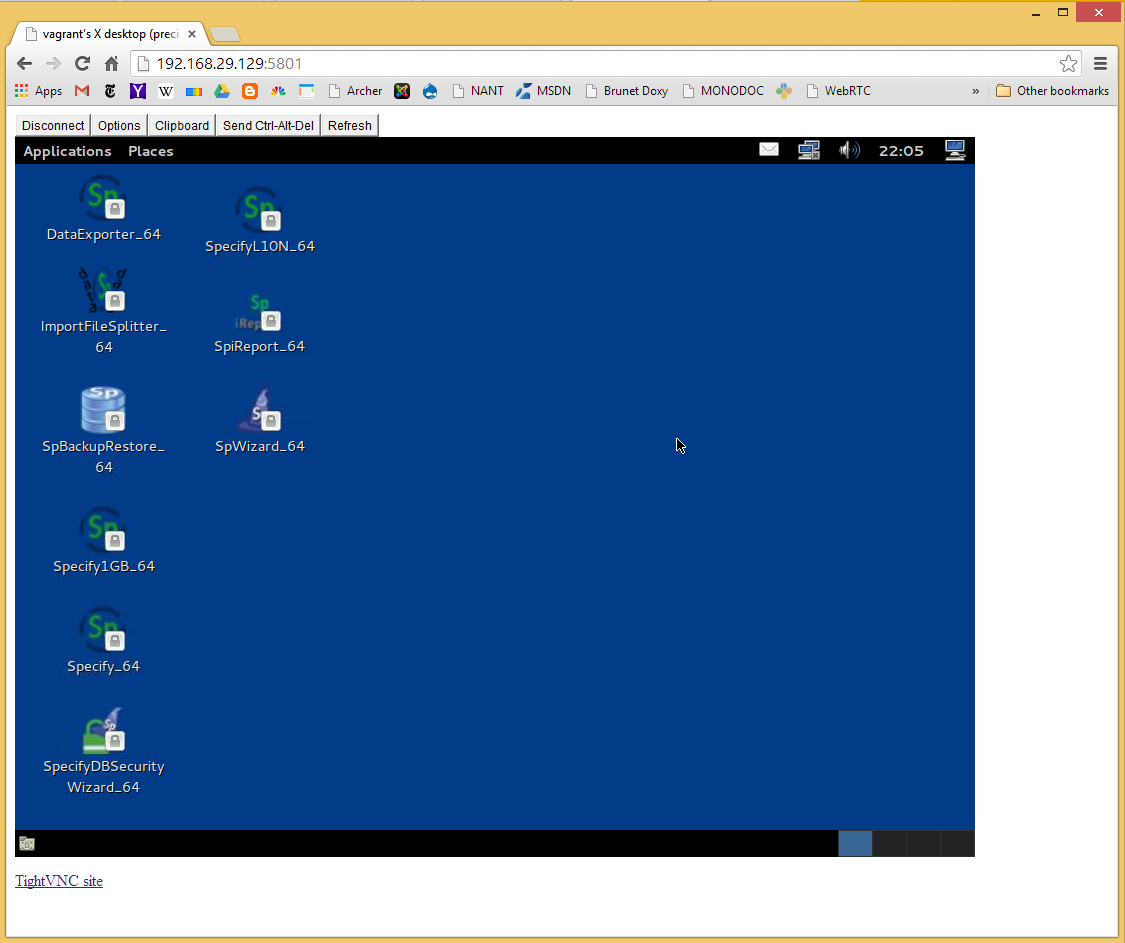
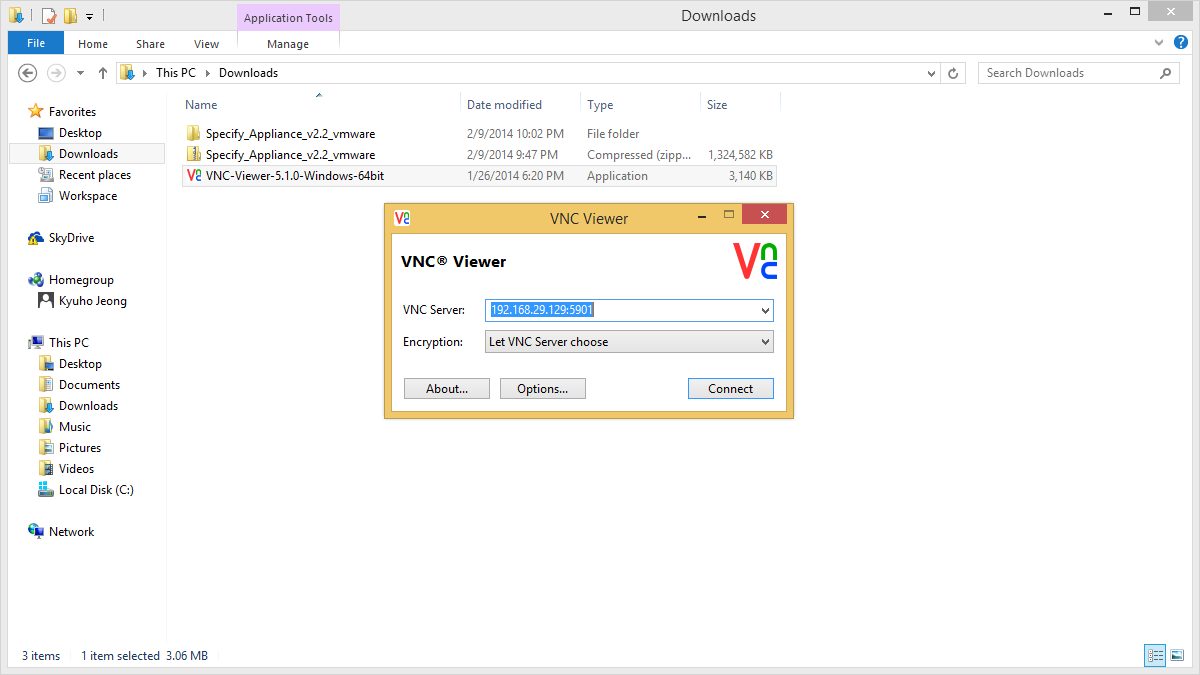
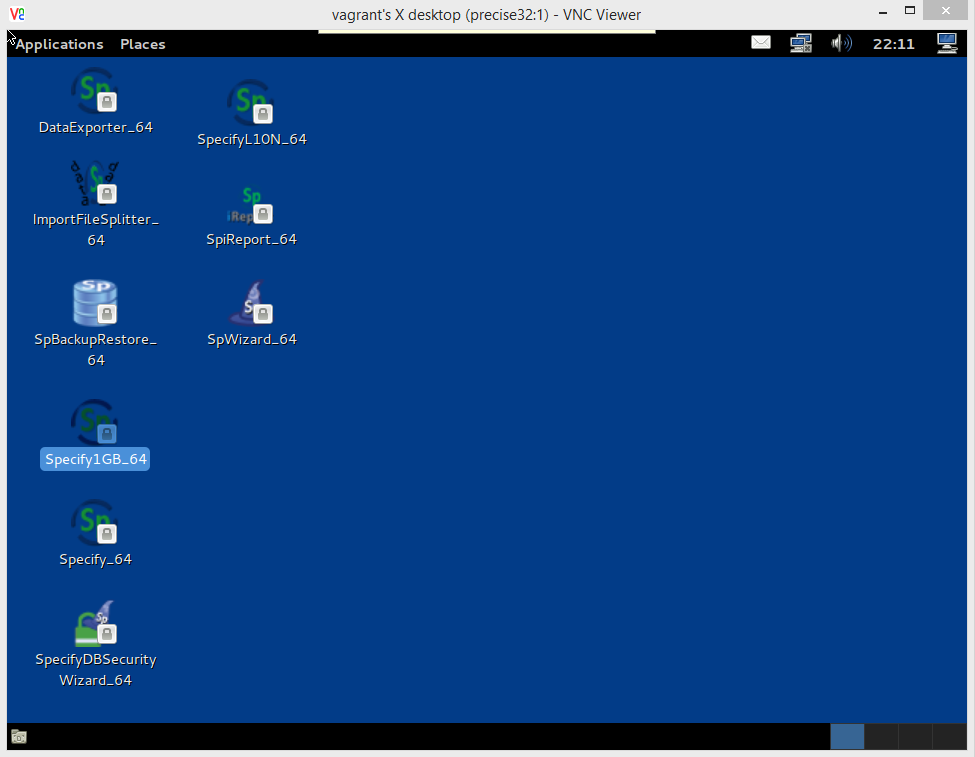
7. Enter the VNC password, the password is given in the appliance screen.
